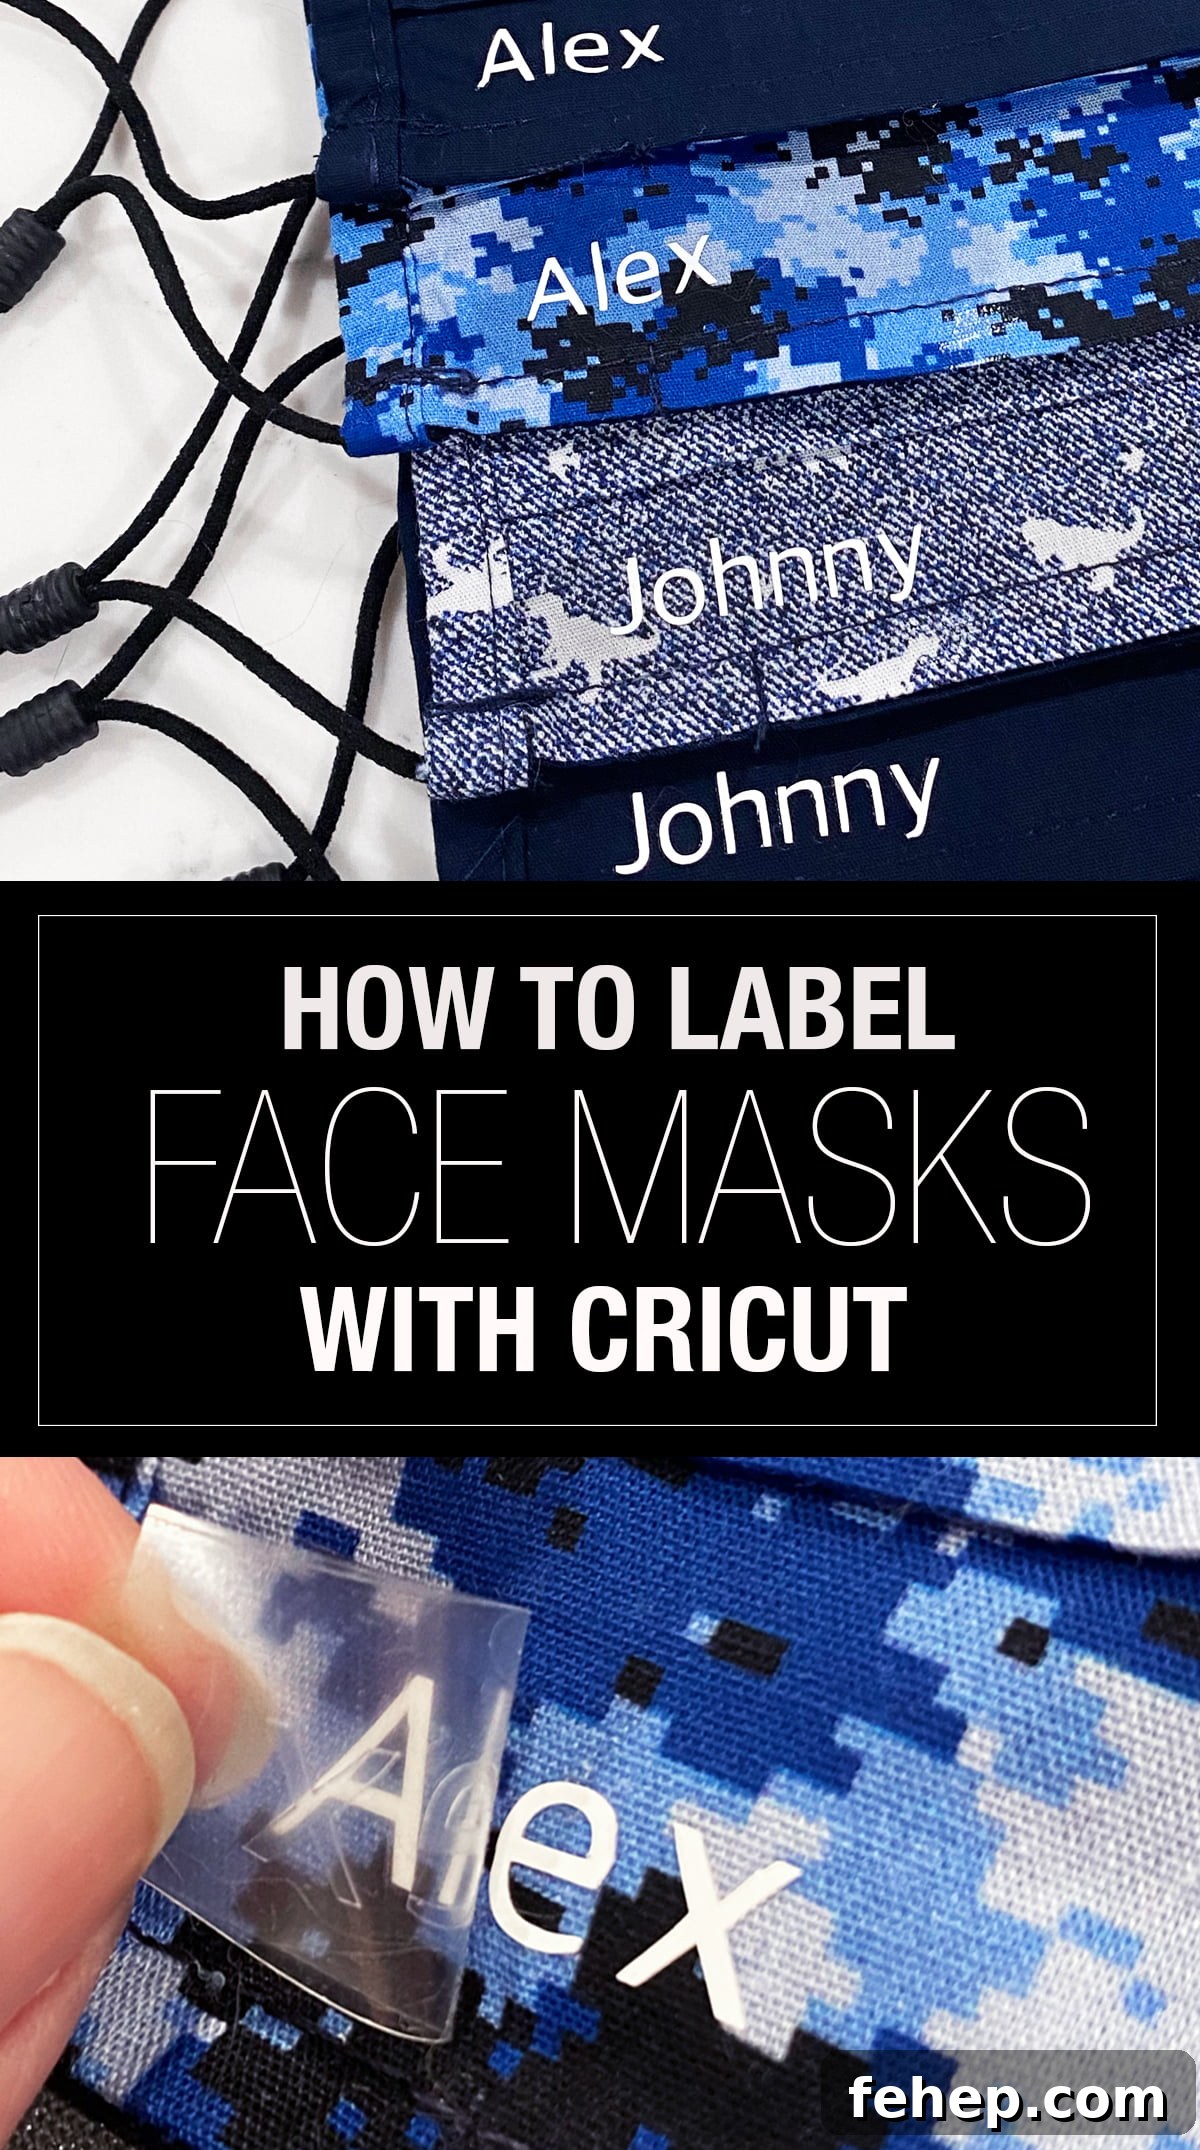
How to Make Face Mask Labels with Your Cricut — Label Kids’ Masks for School and Daycare
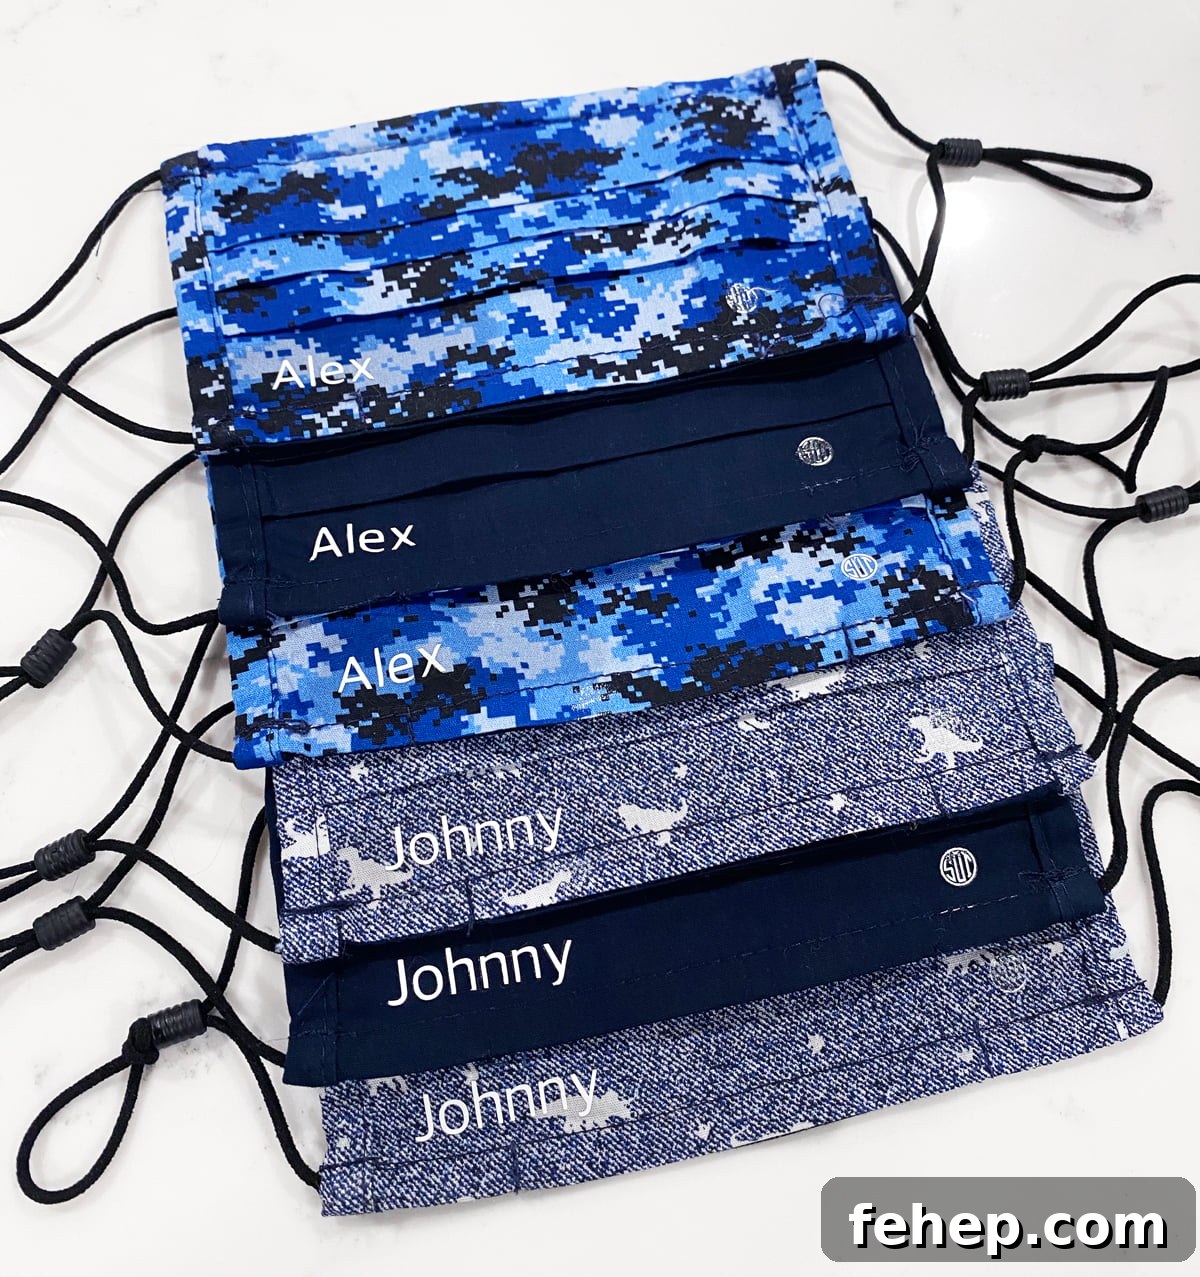
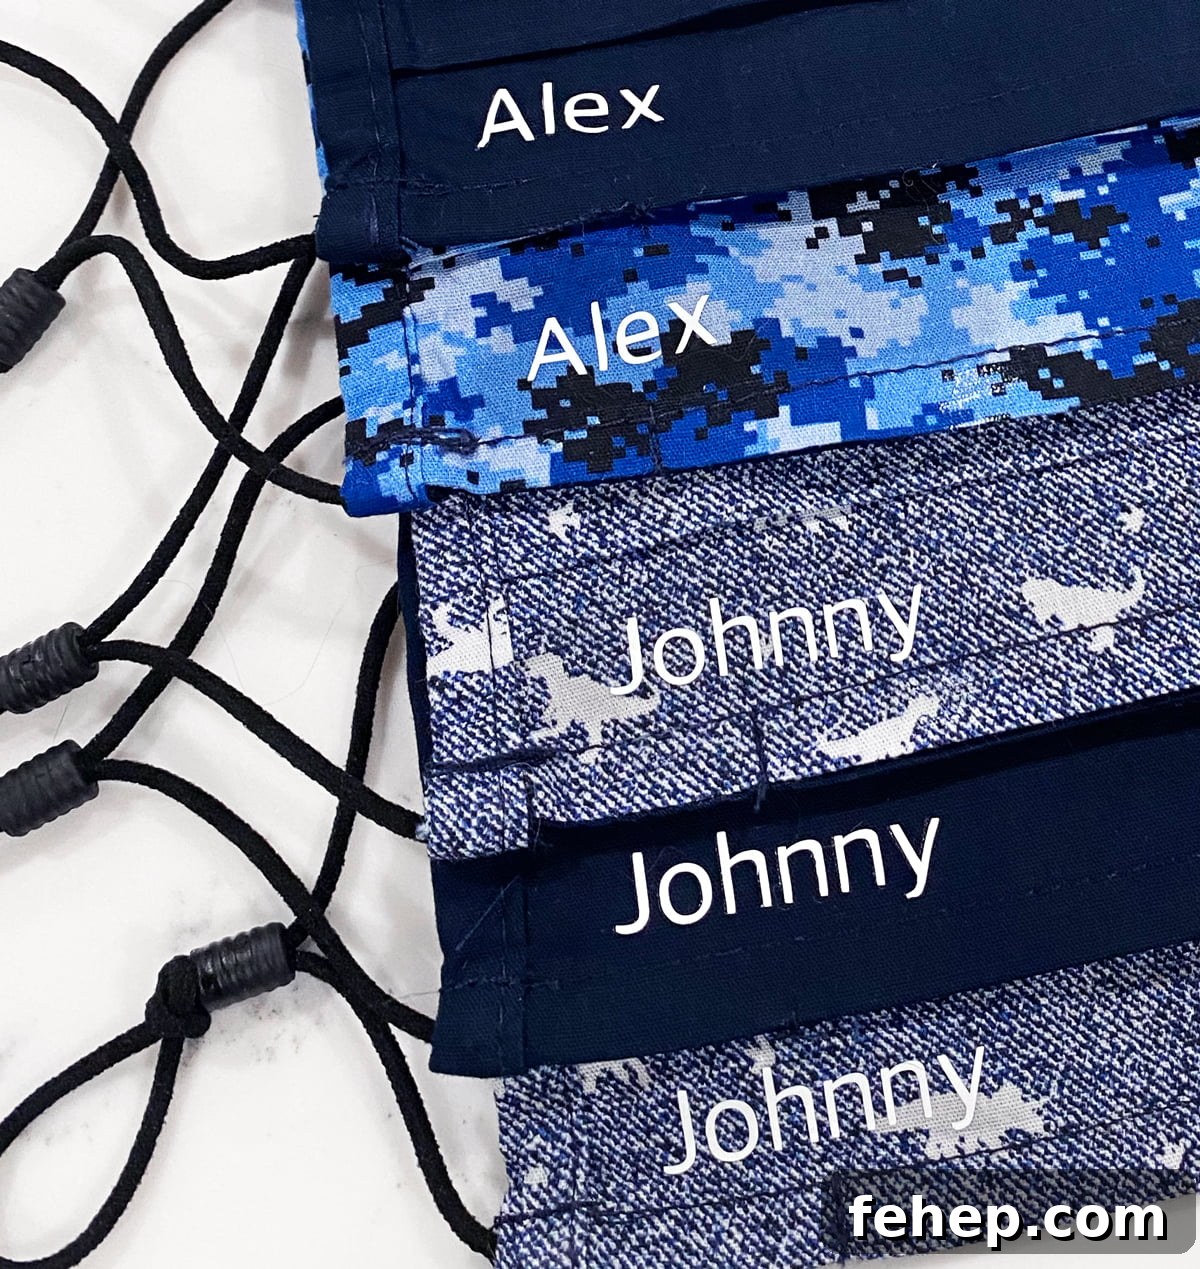
My nephews are heading back to school and their daycare requires labeled face masks. My sister found waterproof name labels that cost over $30, so I offered to personalize their masks with iron-on vinyl and my Cricut to save money and make them durable.
If you still need masks, I used my Cricut to make face masks — see how I did that in a separate project.
Here’s What You’ll Need
- Cricut Maker, Explore Air 2, or Cricut Joy
- Cricut Light Grip Mat
- Iron-on vinyl
- Cricut EasyPress (or a household iron)
- Cricut EasyPress mat
- Masks
Gather your supplies and let’s make the labels.
Create Your Design
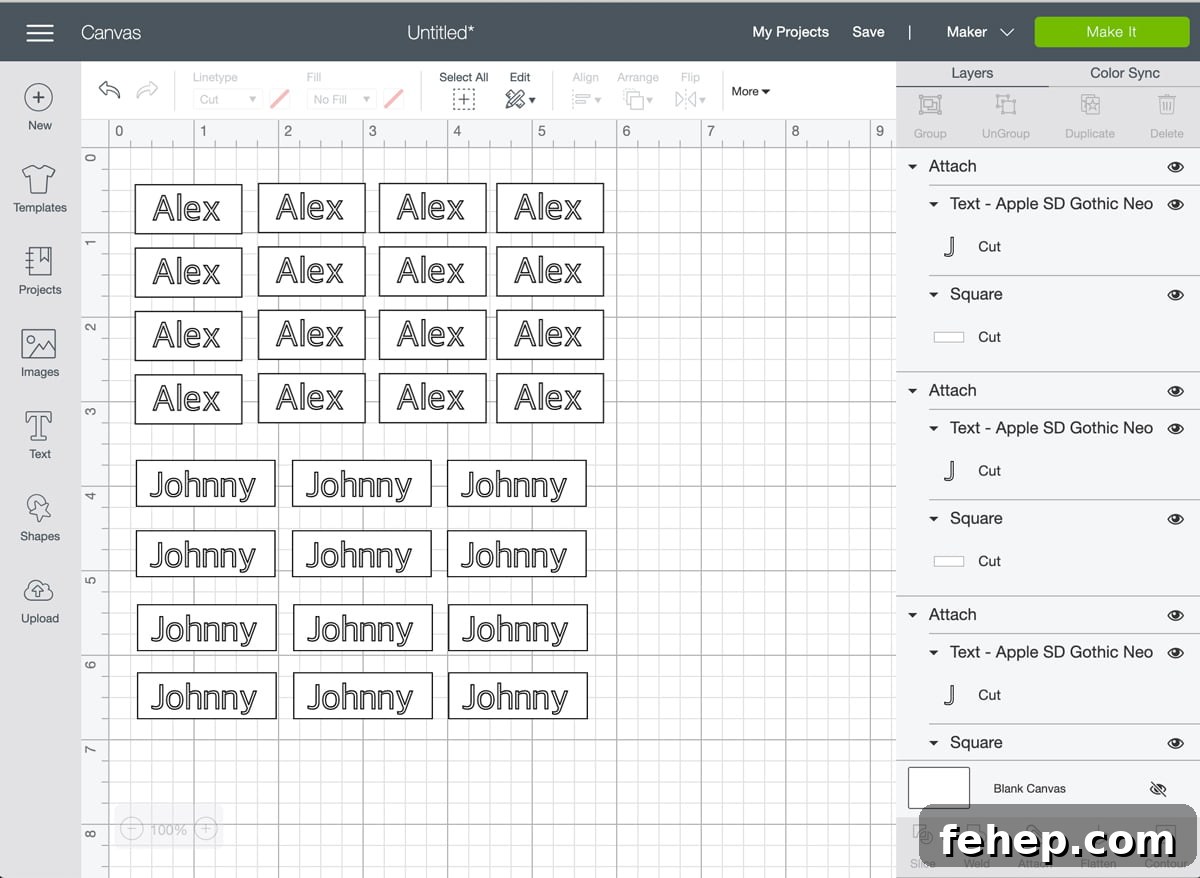
Open Cricut Design Space and use the text tool with a clear, legible font. Because names on masks are small, avoid overly decorative fonts. For this project I used Apple SD Gothic Neo for its clean lines.
I sized each name to 0.375 inches tall — just under a half-inch — which fit the masks nicely without being overpowering. To make weeding easier, draw a small rectangle around each name and attach the rectangle to the text. Then copy and paste to create multiple labels at once.
Cut Your Design
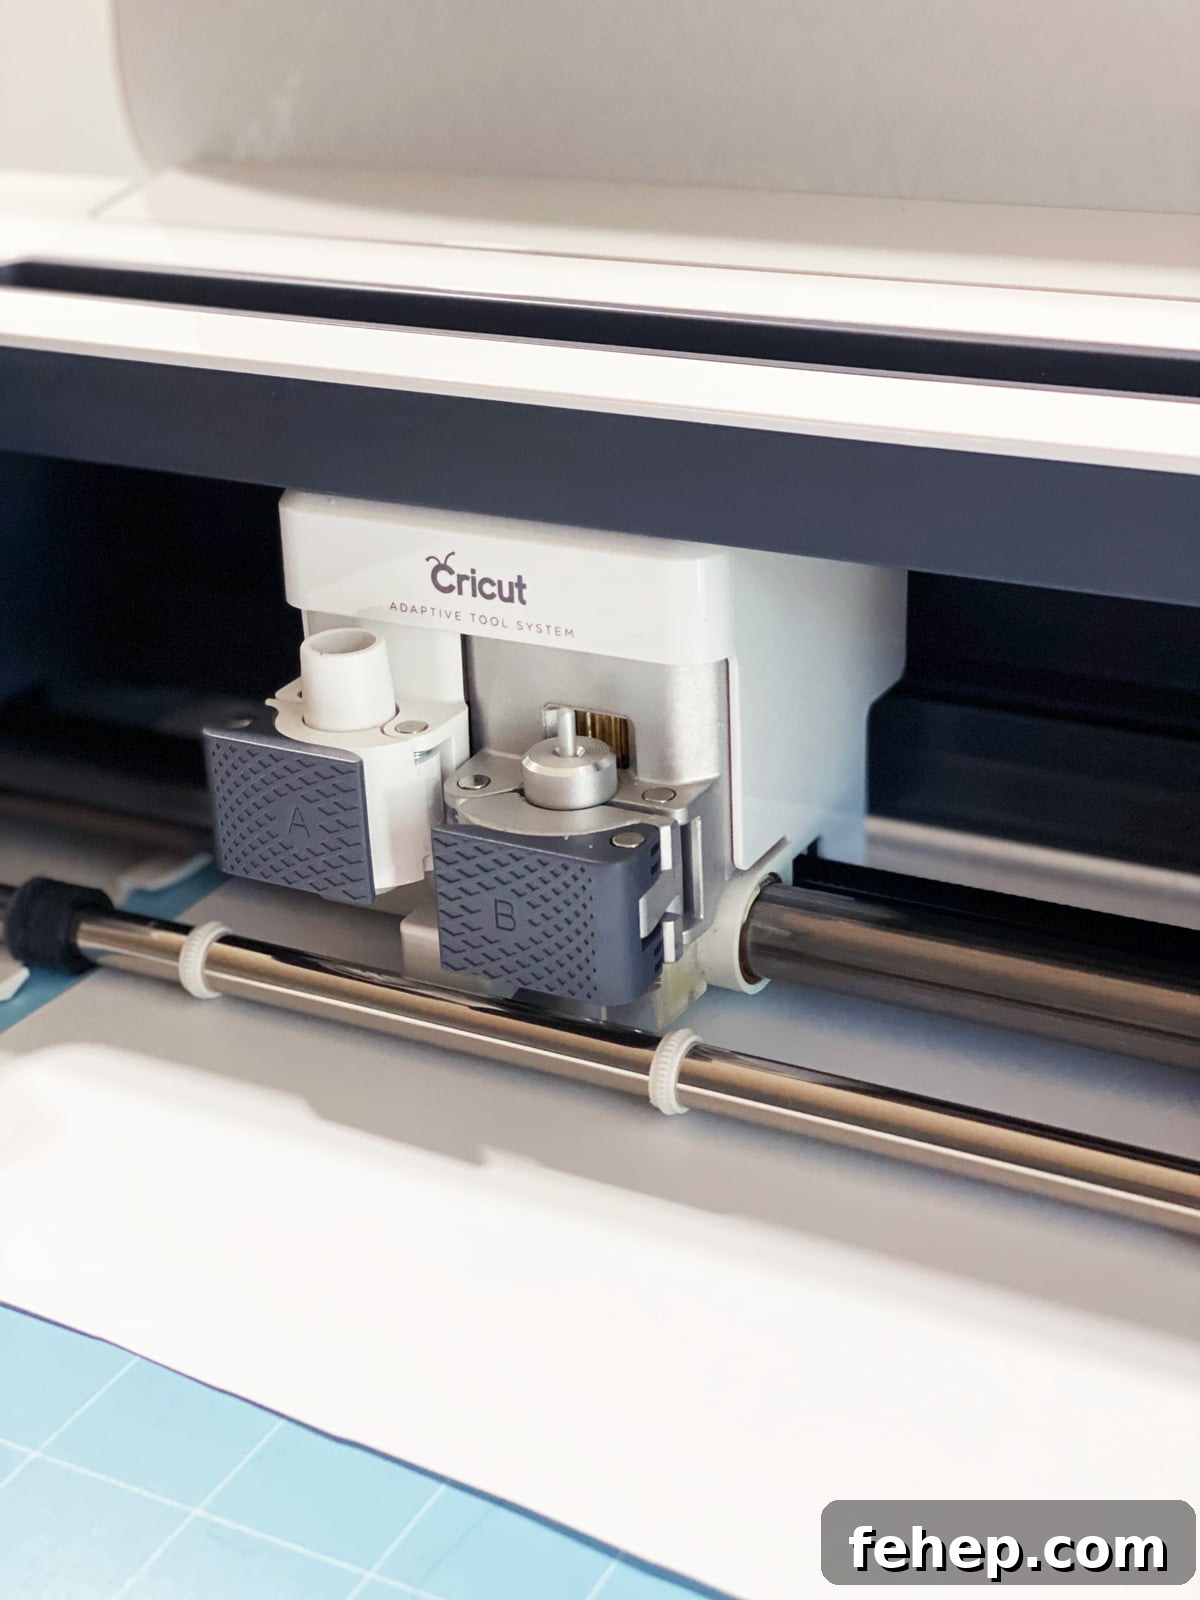
Place your iron-on vinyl shiny side down on the Light Grip Mat. In Design Space select Make It and be sure to turn on Mirror for each mat — always mirror iron-on designs. Choose your machine and the iron-on material setting, load the mat, and press the C button to cut.
Weeding Vinyl
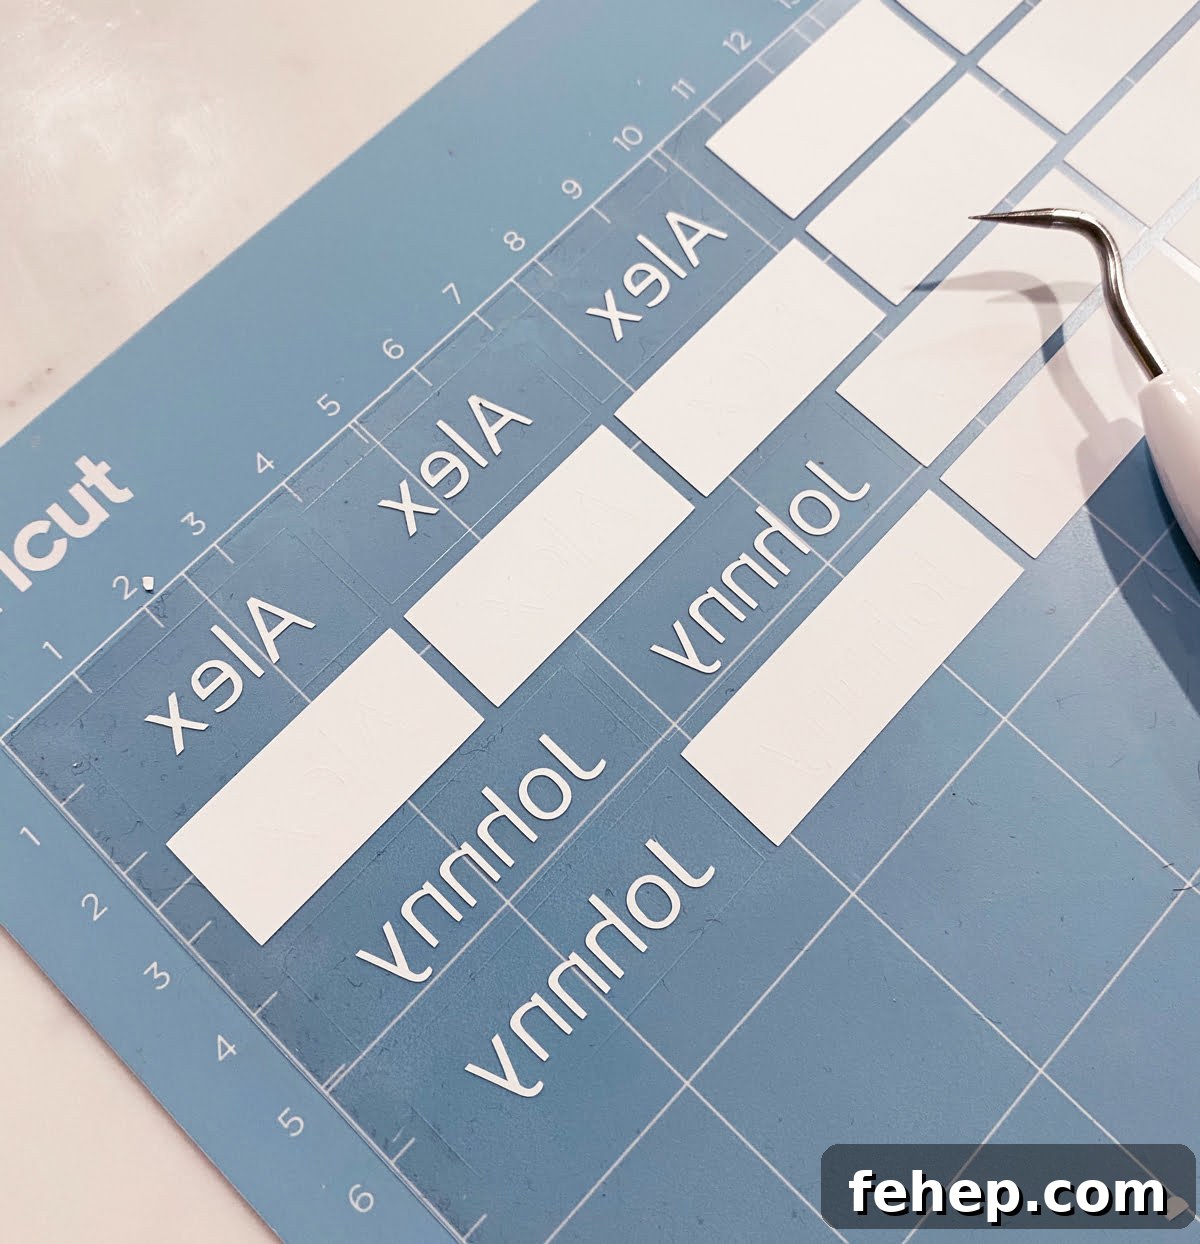
After cutting, trim away excess vinyl if needed, then peel back the backing to reveal the names while leaving the rectangle frames intact. Weed out the unwanted vinyl around each label carefully. Use scissors or an X-Acto knife to cut out smaller sections for individual masks.
Iron-On Your Labels
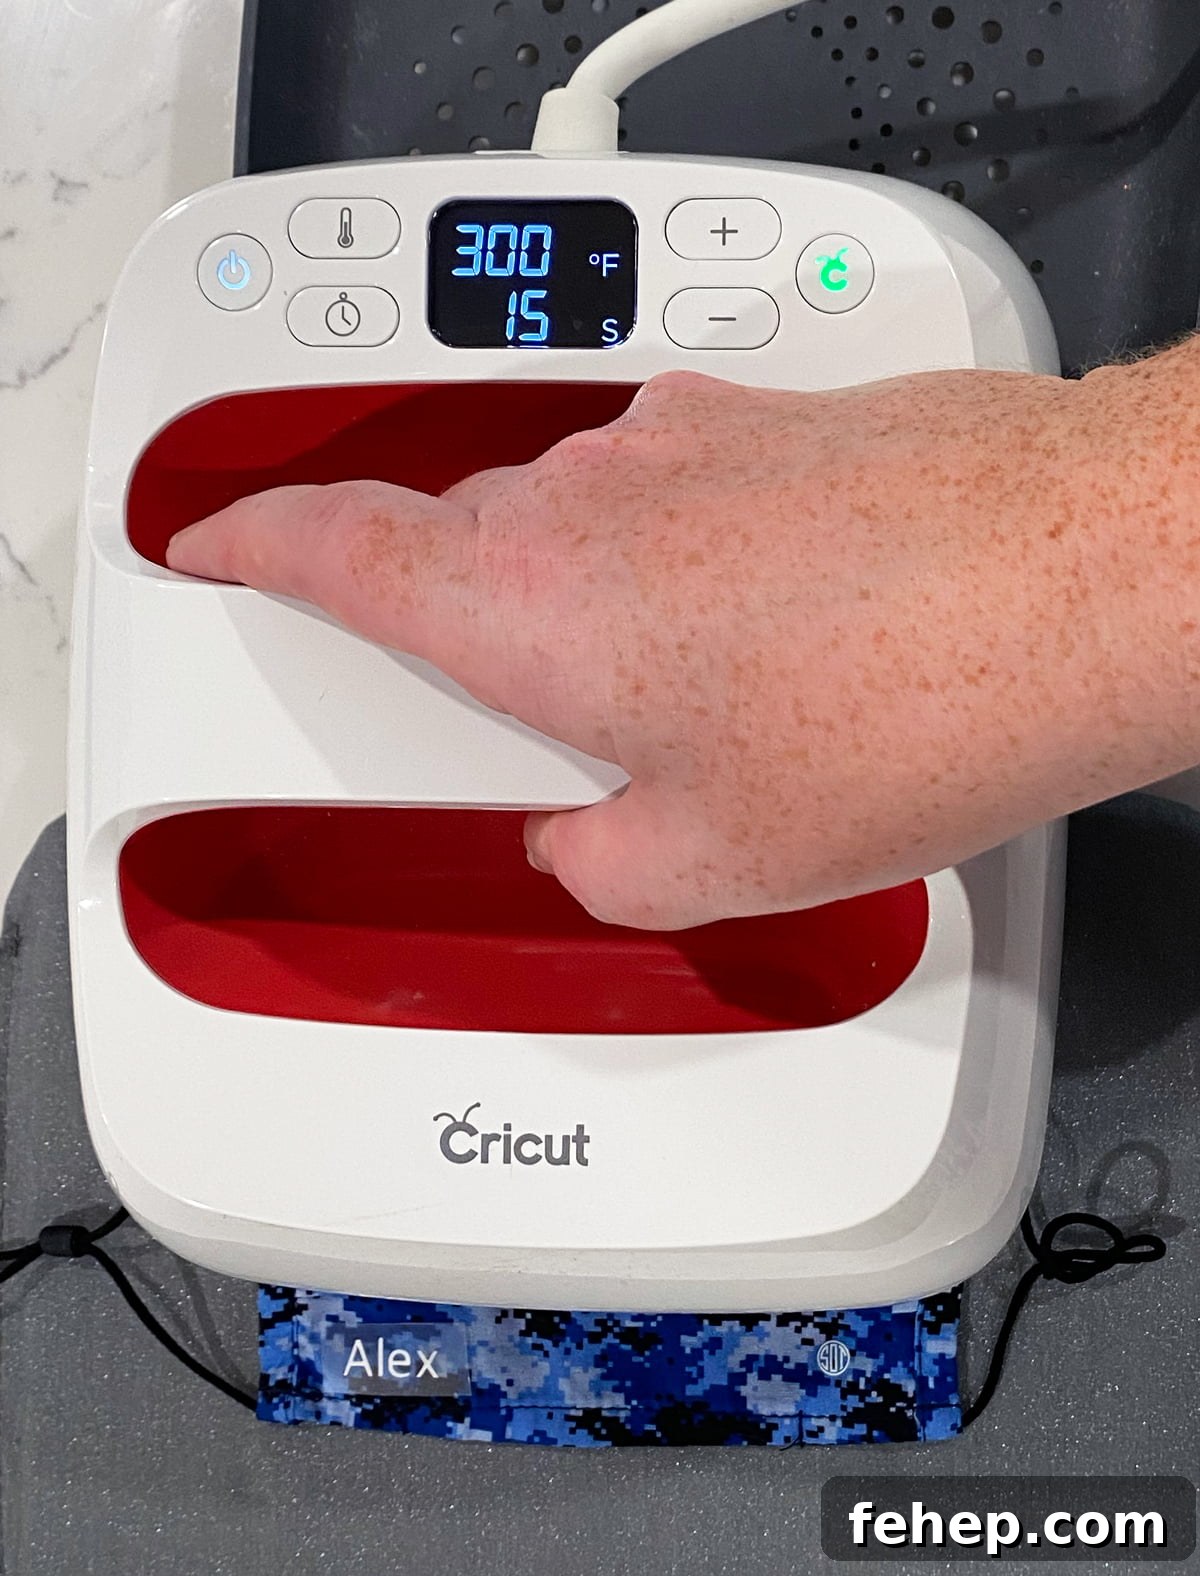
I used a Cricut EasyPress for consistent heat. These masks are a cotton-poly blend, so I set the EasyPress to 300°F and pressed for 15 seconds. Place the mask on your EasyPress mat, position the label with the carrier sheet facing up, and apply firm pressure for the recommended time. The EasyPress display will indicate when it reaches the set temperature.
Allow the plastic carrier sheet to cool completely before peeling it off. If any letters lift, reapply heat for a few more seconds. If you don’t have an EasyPress, use a household iron and follow the iron-on packaging instructions for temperature and pressing time.
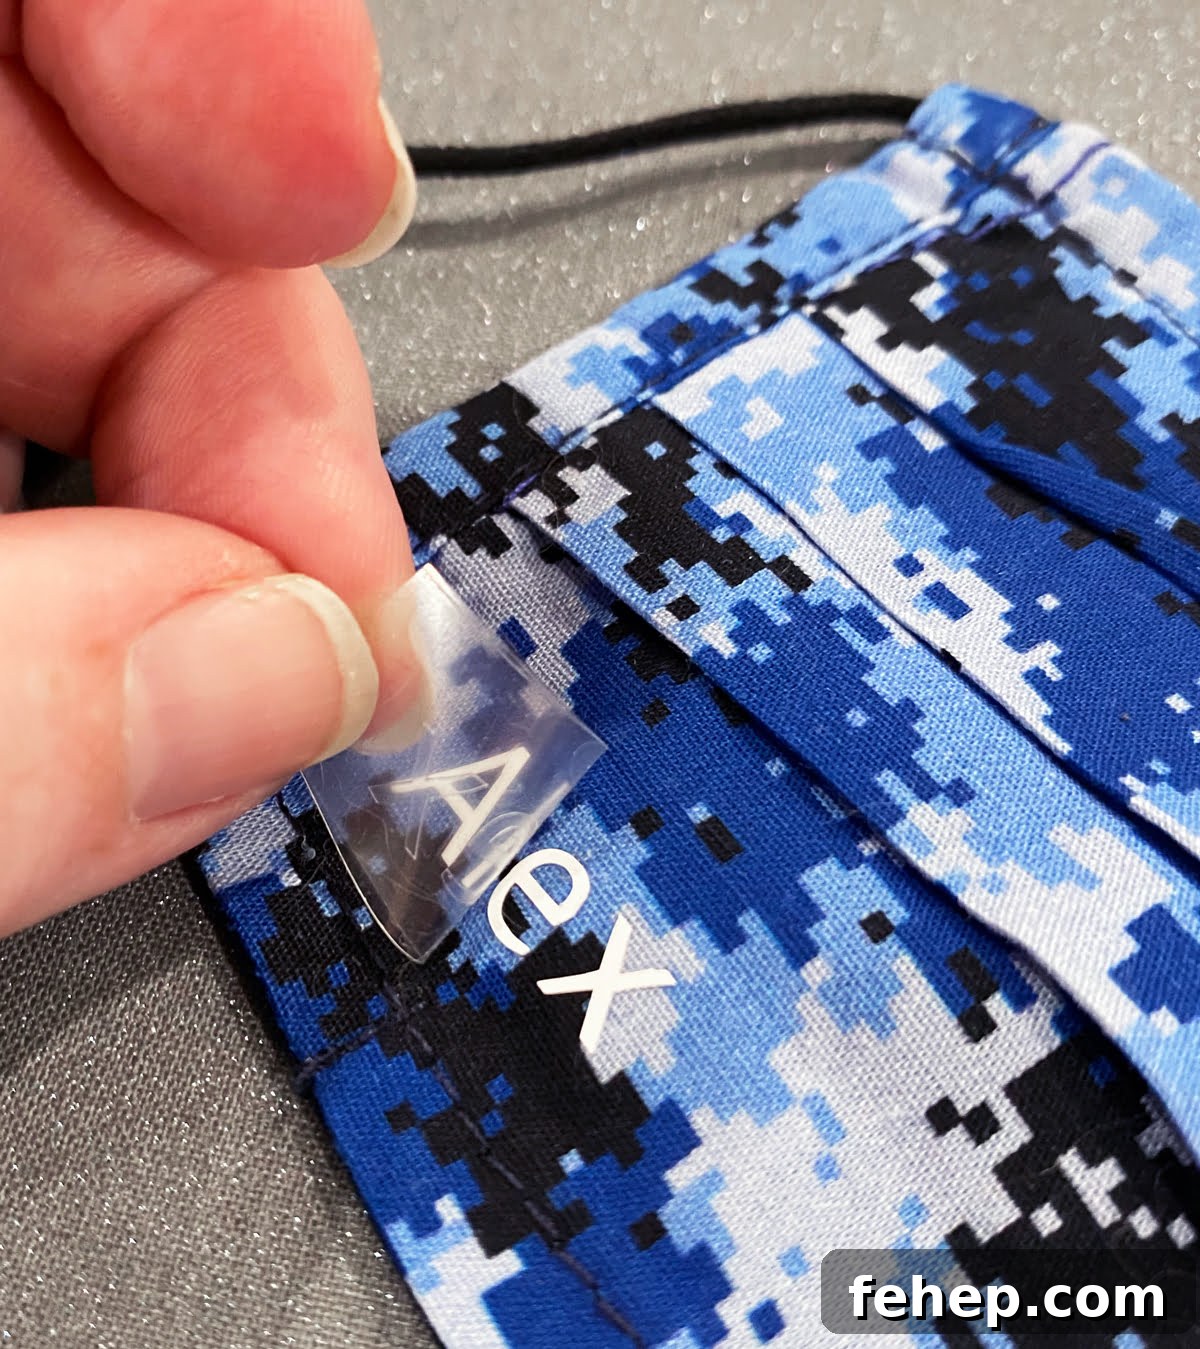
In just a few minutes you can label multiple masks, reducing the chance they get mixed up at school or daycare. I made extra labels for my sister in case more masks were added later.
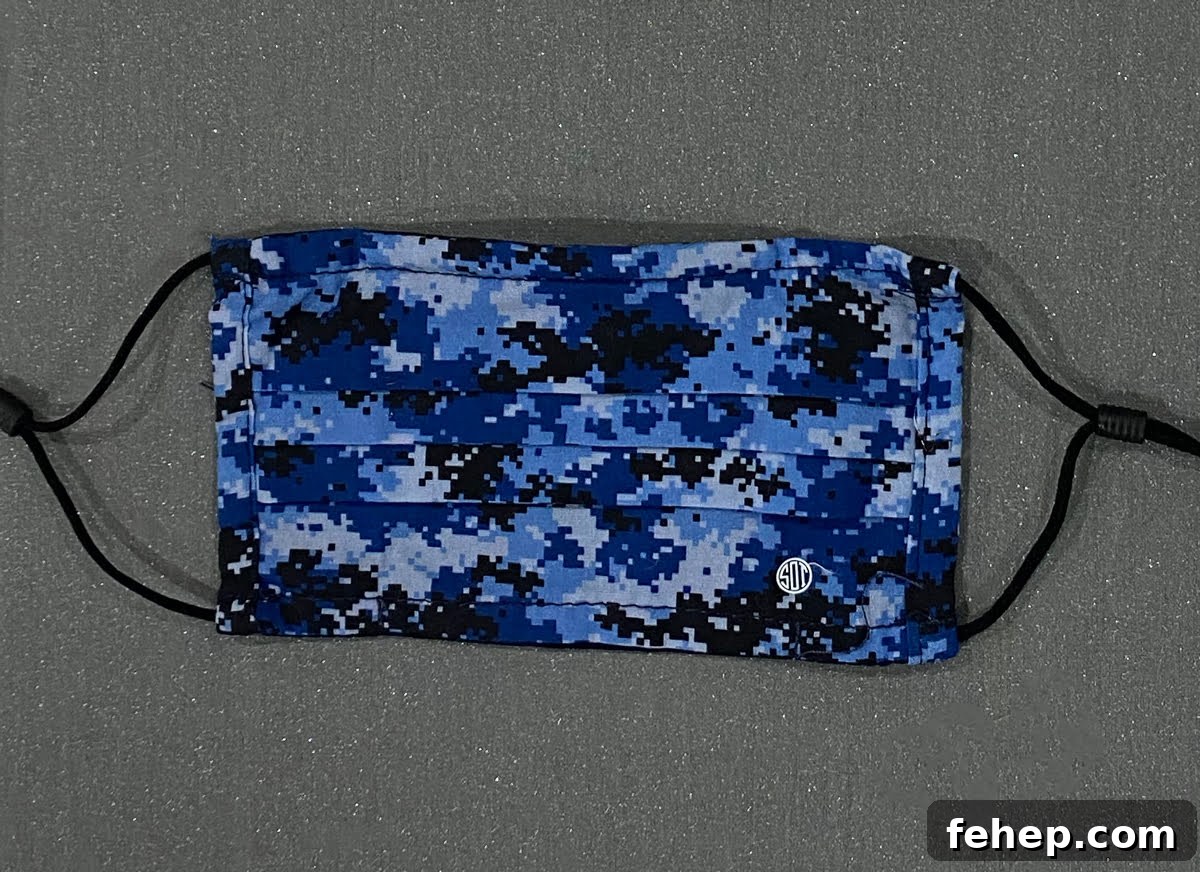
If you want to personalize masks further, follow the same steps and add small designs or icons alongside the names to make them more fun and identifiable.